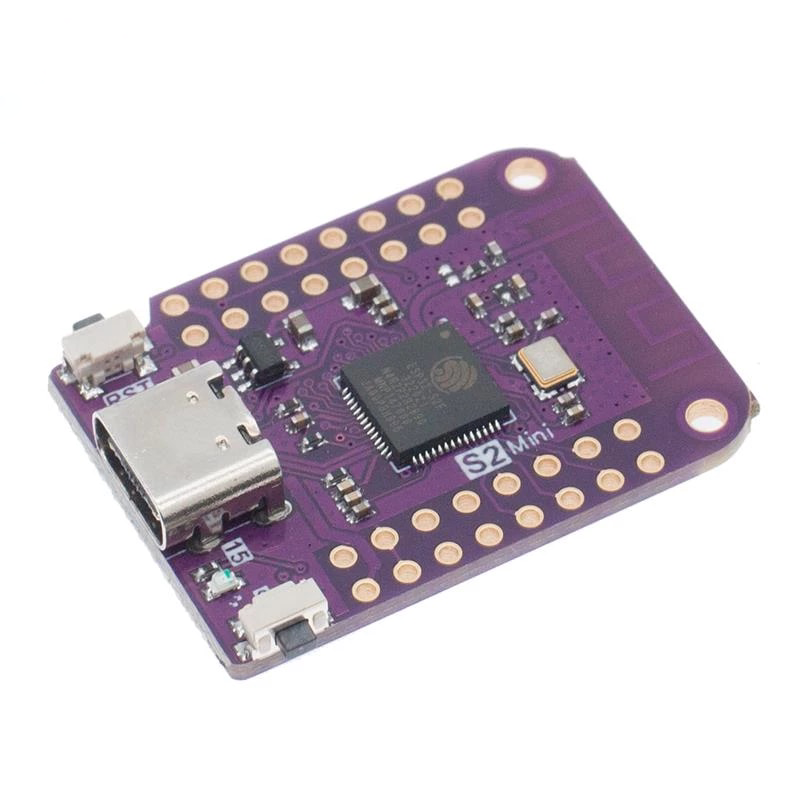
ESP32-S2 based devices, such as the Wemos S2 Mini, offer powerful microcontroller capabilities in a compact form factor that’s compatible with the D1 mini and the many available shields. These devices are often used for a variety of projects, from home automation to IoT devices. No longer do you require extra hardware such as a serial adapter to program your WeMos mini, with the S2 Mini programming the firmware can be done over USB. In this guide, we will show you how to program the firmware of the Wemos S2 Mini (or any other ESP32-S2 based device) using the Tasmota web installer.
 Purchase WeMos S2 Mini
Before we get started, here are the prerequisites:
- A computer with an internet connection
- A Wemos S2 Mini (or any other ESP32-S2 based device)
- A USB cable to connect the device to the computer
Step 1: Installing Tasmota
Tasmota is an open-source firmware that provides an interface for controlling IoT devices. Devices running Tasmota can be integrated into open home automation platforms such as Home Assistant, OpenHab, or any other platform with MQTT support. To install Tasmota, visit the Tasmota web installer website at https://tasmota.github.io/install.
Step 2: Putting the Device in Bootloader Mode
To put the Wemos S2 Mini in Bootloader mode, follow these steps:
- Disconnect the device from power and USB
- Press and hold the Boot button on the device
- Connect the device to USB while still holding the Boot button
- Release the Boot button after 2 seconds
Step 3: Flashing the Firmware
Once the device is in Bootloader mode, connect it to your computer using a USB cable.
Visit the Tasmota web installer page. In the first dropdown select Tasmota32-CDC1 in the second dropdown box select ESP32-S2, now click Connect. From the pop-up screen select the serial port of your device, if you have trouble connecting to the device, the Tasmota installer provides some helpful hints on checking drivers for the serial adapter. Finally click Install Tasmota the programming process will now begin and in a couple of minutes should be complete.
Step 4: Configuring Tasmota
After the firmware has been successfully uploaded, disconnect the device from the USB cable and power it on. You should now be able to access the Tasmota web interface by connecting to the device’s Wi-Fi network. If you are new to Tasmota check out our Getting Started Guide. In the Tasmota web interface, you can configure various settings, such as Wi-Fi credentials, device name, MQTT2, GPIO features, Rules and much more.
And that’s it! You have now successfully programmed the Wemos S2 Mini (or any other ESP32-S2 based device) with Tasmota.
In conclusion, programming the firmware of ESP32-S2 based devices with Tasmota using the web installer is a simple and straightforward process. With this guide, you will be able to flash your Wemos S2 Mini (or any other ESP32-S2 based device) with ease and configure it to suit your needs. Happy programming!
-
This build enables serial output over USB, However you can install any of the other builds if you require specific features such as Sensors, Displays, LVGL etc ↩
-
Mqtt settings are required to allow Tasmota to communicate with your home automation platform. Home Assistant provides built-in support for Tasmota and should auto-detect your device once MQTT is configured. ↩